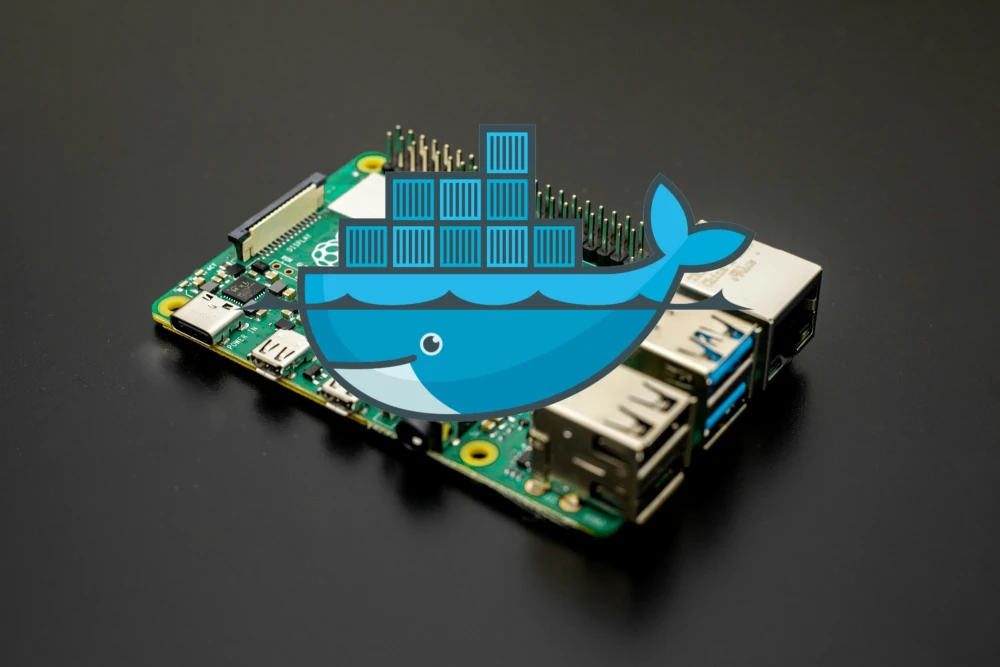
Running OpenOCD in Docker: A "Tools as Service" Approach to Embedded DevOps
Discover how Docker containers can simplify your embedded tooling setup, making OpenOCD portable, isolated, and hassle-free, all while keeping your Raspberry Pi 4 devbox clean and efficient.

This post is part of the Tools as a Service Series. Full architecture overview here.
In the previous posts we have been gradually building up our Embedded Infra DevOps, from tools built from source, to packaging them into easily manageable Debian packages. Although we have come far there is still one nuance that annoys us in the DevOps setup. Namely, when installing and setting up our remote devbox we install all the tools directly on the OS, creating clutter and potential issue with library mismatch. Further more, if we would like to use these built tools and packages on other systems or newer OS then we would have to rebuild them for those systems, increasing the cost of managing all of that.
What if we could reduce the management cost and isolate tools in our devbox? Luckily there is a tech that can help us. Containers! With containers we can isolate the tools from the host, spin on and off containers are we need, update the whole tool stack with ease and reduce the time and cost of handling each OS and target tooling. This will pave our way to having tools as service, setting them up and tearing them down with Docker Compose files. So let’s begin setting up our first containerized embedded tools stack on a Raspberry Pi 4 devbox!
Installing Docker on Raspberry Pi 4
Before installing Docker on a new host machine for the first time, we need to set up the Docker apt repository. We need to add Docker's official GPG key and then then add the repository to apt sources:
sudo apt update
sudo install -m 0755 -d /etc/apt/keyrings
sudo curl -fsSL https://download.docker.com/linux/debian/gpg -o /etc/apt/keyrin   gs/docker.asc
sudo chmod a+r /etc/apt/keyrings/docker.asc

sudo tee /etc/apt/sources.list.d/docker.sources <<EOF
Types: deb
URIs: https://download.docker.com/linux/debian
Suites: $(. /etc/os-release && echo "$VERSION_CODENAME")
Components: stable
Signed-By: /etc/apt/keyrings/docker.asc
EOF

sudo apt update
Once our system sees the Docker sources we can install the required tools:
sudo apt install docker-ce docker-ce-cli containerd.io docker-buildx-plugin docker-compose-pluginFinally, we can do some quality of life changes and add the current user to the Docker group. This is so that we do not need to sudo each docker command.
sudo groupadd docker
sudo usermod -aG docker $USER

# Activate the changes to groups
newgrp docker
And that it, we can now test the installation by running the hello-world container, if all is installed correctly we ought to see an output confirming that.
docker run hello-worldThese instructions where taken from the official Docker documentation and are confirmed to work on Raspberry Pi 4. For additional information refer to the official documentation.
Crafting the Container

Now for the fun part! Create a blank Dockerfile, we want something lightweight, we start with a Ubuntu 22.04 image. But we also need to pull in our custom packages, so we add our package registry to the container's sources list.
ARG TARGETPLATFORM
FROM ubuntu:22.04

ARG VERSION

LABEL org.opencontainers.image.title="docker-openocd" \
      org.opencontainers.image.description="Run OpenOCD in Docker " \
      org.opencontainers.image.version="${VERSION}"

RUN apt update && apt install -y curl gnupg

ARG DEBIAN_REGISTRY=https://gitea.local/api/packages/Vault/debian
RUN curl ${DEBIAN_REGISTRY}/repository.key -o /etc/apt/keyrings/gitea-Vault.asc                && \
    echo "deb [signed-by=/etc/apt/keyrings/gitea-Vault.asc] ${DEBIAN_REGISTRY} bookworm main"   \
          | tee -a /etc/apt/sources.list.d/gitea.list                                          && \
    apt update

ARG CONTAINER_USER=debugger

RUN apt-get update && apt-get upgrade -y && \
    apt-get install -y                      \
        pxg-openocd                      && \
    apt-get clean && rm -rf /var/lib/apt/lists/*

RUN adduser --disabled-password --gecos "" "${CONTAINER_USER}"

USER ${CONTAINER_USER}
With the Dockerfile ready, we build our container:
VERSION=1.0.0 &&
docker build \
  --build-arg VERSION=$VERSION \
  --tag docker-openocd:$VERSION \
  -f Dockerfile .
A quick check with docker images confirms our container is ready to roll:
$ docker images
IMAGE                      ID             DISK USAGE   CONTENT SIZE   EXTRA
docker-openocd:1.0.0       796d0cac3c41        253MB         79.1MB
Running the Container
Now, let's test our containerized OpenOCD:
$ docker run --rm docker-openocd:1.0.0 openocd -v
Open On-Chip Debugger 0.12.0+dev-02117-g66ea46184 (2026-01-02-15:41)
Licensed under GNU GPL v2
For bug reports, read
        http://openocd.org/doc/doxygen/bugs.html
If everything is set up correctly, we'll see OpenOCD's version info, confirming that our tool is alive and well inside the container.
But how do we use it with a debug probe connected to the Pi? Running the container with --privileged would work, but that's like giving a stranger the keys to your house, it's a security risk. Instead, we can pass the device directly to the container.
However, there's a problem, the device path (like /dev/bus/usb/001/007) can change if the probe is replugged or moved to a different port. To solve this, we create a symlink using a udev rule.
USB Passthrough: The Elegant Solution
We create a udev rule to ensure our debug probe is always accessible at the same path, no matter where it's plugged in. Start by creating a new udev rule file:
sudo nano /etc/udev/rules.d/99-usb-debugger.rulesAdd the following rule, replacing <id vendor> and <id product> with your probe's IDs (find them with lsusb). For example, the Pi Debug Probe has an id of 2e8a:000c (vendor:product). Finally, replace <probe name> with a name you like:
SUBSYSTEM=="usb", ATTR{idVendor}=="<id vendor>", ATTR{idProduct}=="<id product>", SYMLINK+="debug/<probe name>", MODE="0666", GROUP="plugdev"For the new rules to take effect, reload them with:
sudo udevadm control --reload-rules
sudo udevadm trigger
Now, we can run our container with the debug probe attached:
$ docker run --rm -it --name=pi-probe --network host --group-add plugdev --device=$(readlink -f /dev/debug/pi-probe) docker-openocd openocd -f interface/cmsis-dap.cfg -f target/rp2040.cfg -c "adapter speed 5000"

Open On-Chip Debugger 0.12.0+dev-02117-g66ea46184 (2026-01-02-15:41)
Licensed under GNU GPL v2
For bug reports, read
        http://openocd.org/doc/doxygen/bugs.html
Info : [rp2040.core0] Hardware thread awareness created
Info : [rp2040.core1] Hardware thread awareness created
adapter speed: 5000 kHz
Info : Listening on port 6666 for tcl connections
Info : Listening on port 4444 for telnet connections
Info : Using CMSIS-DAPv2 interface with VID:PID=0x2e8a:0x000c, serial=E6633861A3725538
Info : CMSIS-DAP: SWD supported
Info : CMSIS-DAP: Atomic commands supported
Info : CMSIS-DAP: Test domain timer supported
Info : CMSIS-DAP: FW Version = 2.0.0
Info : CMSIS-DAP: Interface Initialised (SWD)
Info : SWCLK/TCK = 0 SWDIO/TMS = 0 TDI = 0 TDO = 0 nTRST = 0 nRESET = 0
Info : CMSIS-DAP: Interface ready
Info : clock speed 5000 kHz
Info : SWD DPIDR 0x0bc12477, DLPIDR 0x00000001
Info : SWD DPIDR 0x0bc12477, DLPIDR 0x10000001
Info : [rp2040.core0] Cortex-M0+ r0p1 processor detected
Info : [rp2040.core0] target has 4 breakpoints, 2 watchpoints
Info : [rp2040.core0] Examination succeed
Info : [rp2040.core1] Cortex-M0+ r0p1 processor detected
Info : [rp2040.core1] target has 4 breakpoints, 2 watchpoints
Info : [rp2040.core1] Examination succeed
Info : [rp2040.core0] starting gdb server on 3333
Info : Listening on port 3333 for gdb connections
If all goes well, OpenOCD will start up, detect the probe, and begin listening for connections. We're now ready to debug our target remotely, just like before, but this time, everything is neatly contained within a Docker container.
What's Next?
With our debug tool now containerized, we’ve taken a big step toward a cleaner, more portable, and easier-to-manage embedded development environment. The next step? Exploring how to integrate this setup with other tools and workflows, perhaps even automating more of the process.
All Posts in This Series
- Part 1: Getting Started with OpenOCD: A Beginner's Guide
- Part 2: Remote Debugging with Raspberry Pi and OpenOCD
- Part 3: Cross-Compiling OpenOCD: A Step-by-Step Walkthrough
- Part 4: Simplifying OpenOCD Deployment with a Debian Package
- Part 5: Automating OpenOCD Distribution with a Private Gitea Package Registry
- Part 6: Running OpenOCD in Docker: A "Tools as Service" Approach to Embedded DevOps (Current Post)
- Part 7: Creating a Containerized Remote Serial Interface with Docker and Socat
- Part 8: Remote View Raspberry Pi Camera Stream with Docker

Eliminating DNS Downtime: Build a High Availability Pi-hole Cluster
Avoid DNS downtime! Learn how to set up a redundant Pi-hole system using Keepalived and VRRP. Ensure seamless failover if your primary DNS server crashes—step-by-step guide with hands-on examples.
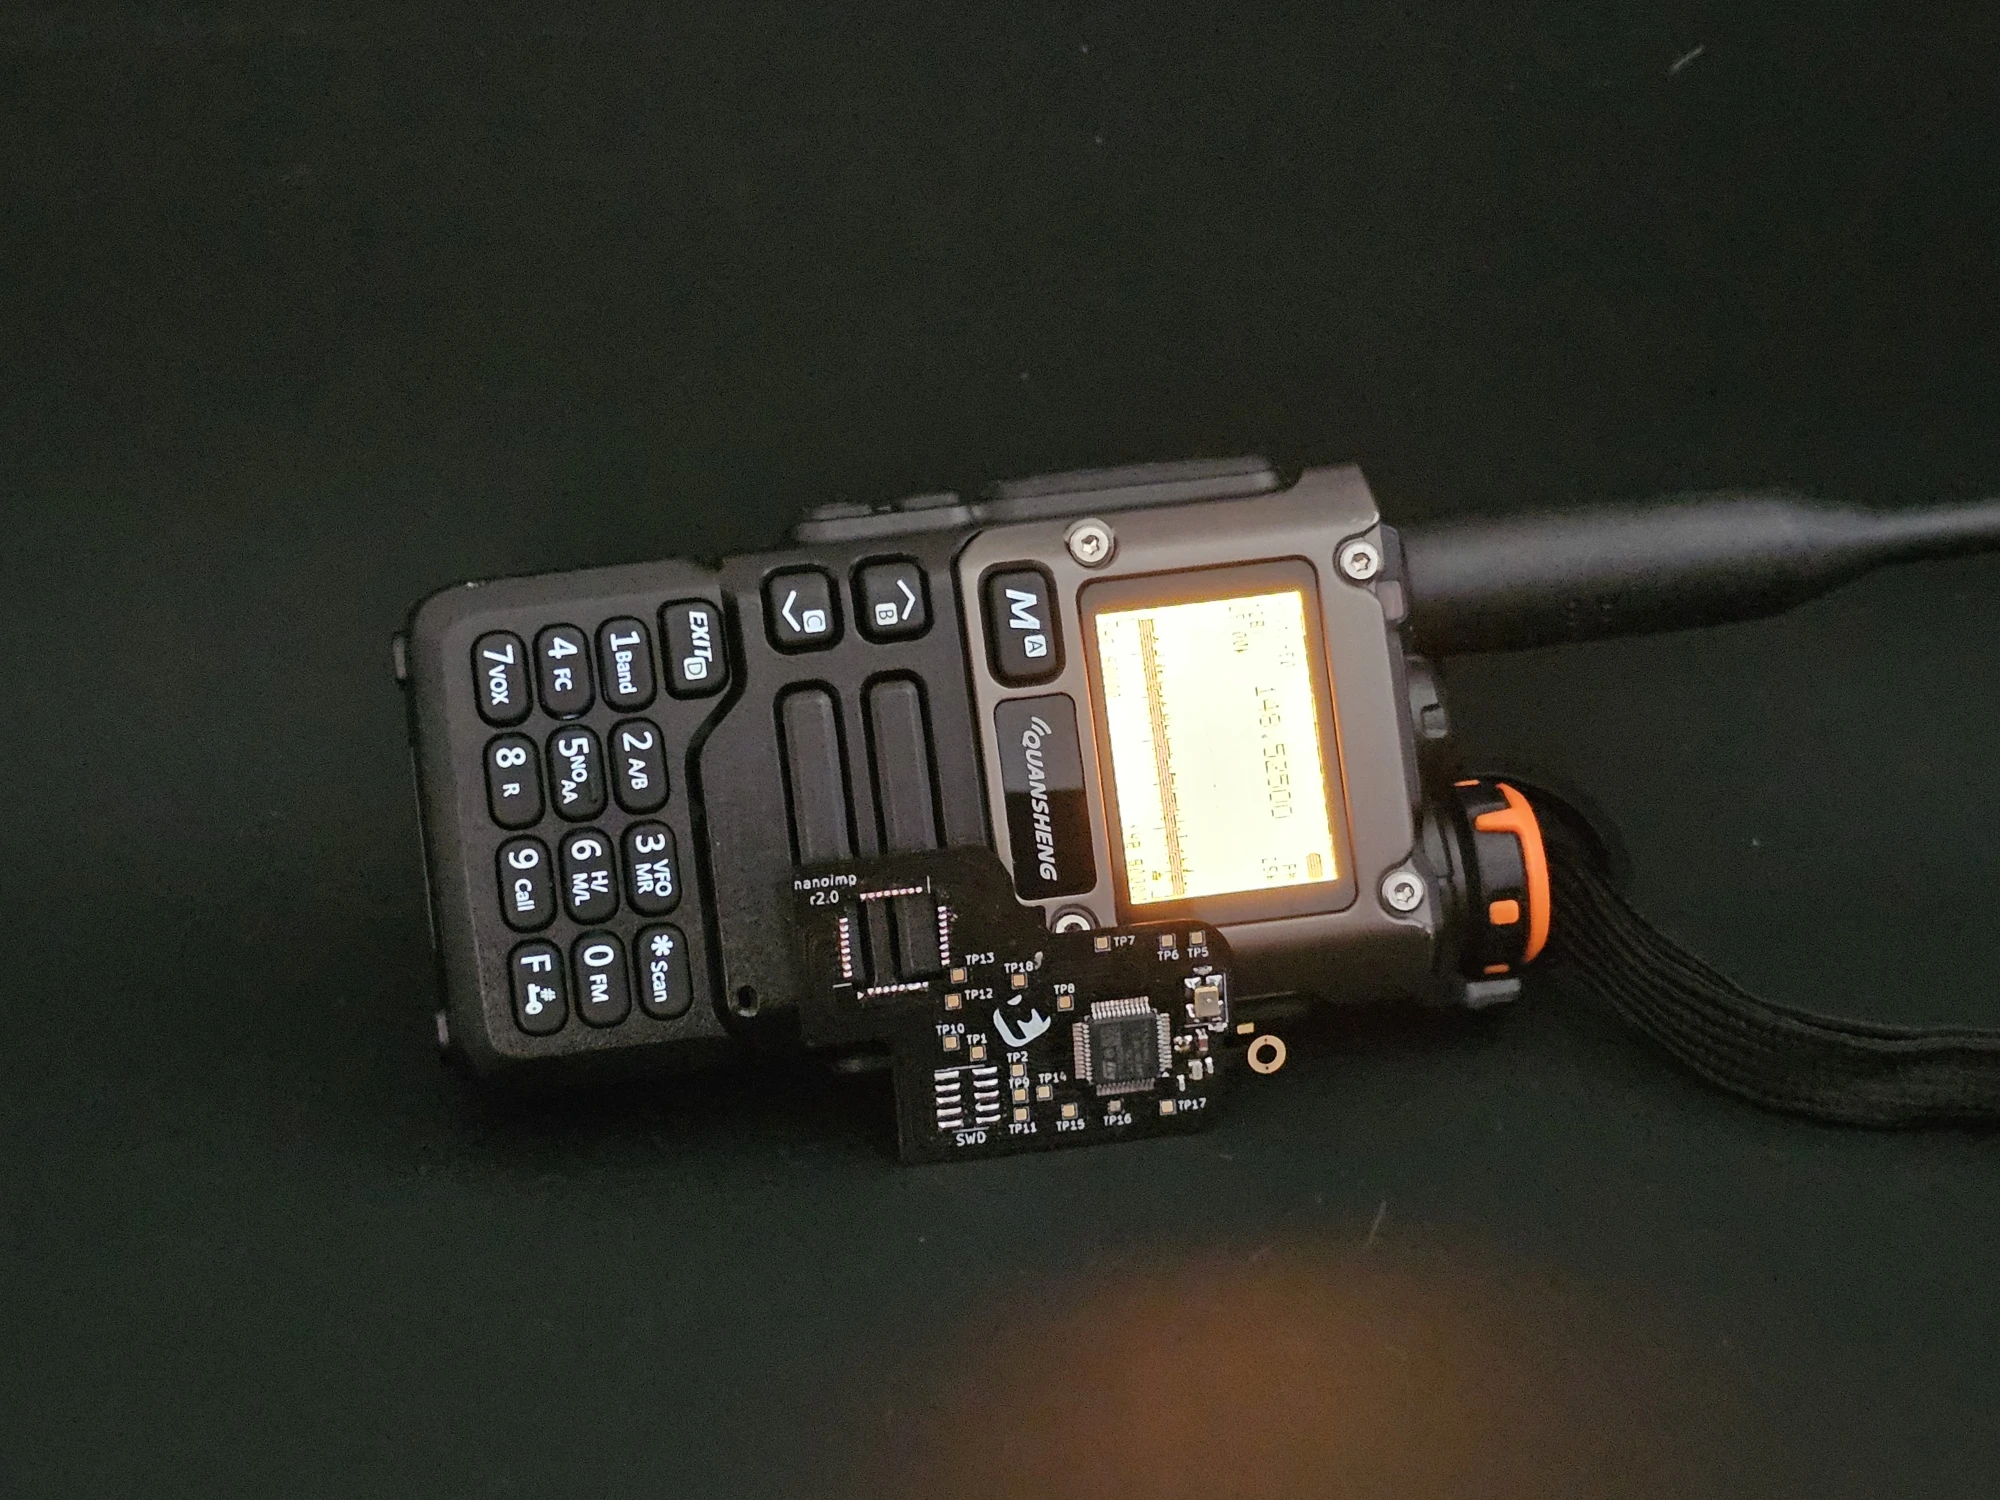
From Feature Tetris to Full Power – The UV-K5 Flex PCB Brain Hack
The Quansheng UV-K5 makes you play firmware feature Tetris with its tiny MCU. In this project, we perform some embedded brain surgery—replacing it with an STM32 via a custom flex PCB for more flash, RAM, and possibilities.
Advanced RTT in Embedded Rust: A Guide to Multi-Channel Logging and Binary Streaming (Part 2)
Stream RP2040 sensor data over RTT and decode logs in real time. Use Python to visualize binary temperature readings and turn raw bytes into insights.
Whether you're building something new, fixing stability issues, or automating what slows your team down — we can help.