Creating a Containerized Remote Serial Interface with Docker and Socat
Learn how to set up remote serial communication for embedded development using Socat, Docker, and Raspberry Pi. Streamline UART access and debug from anywhere!

This post is part of the Tools as a Service Series. Full architecture overview here.
The Need for Remote Serial Communication
In the previous post, we explored the Tool as a Service (TaaS) approach for remote embedded development, focusing on debugging with OpenOCD. While debugging is crucial, embedded development often requires more, for example interfacing with UART peripherals.
We’ve added instructions on how to use the Pico’s USB CDC interface for remote serial communication! Check it out below
Today, we'll extend our setup to include remote serial communication, allowing us to monitor and interact with our device’s serial output from anywhere.
The Toolkit
We'll be needing the following components and software tools:
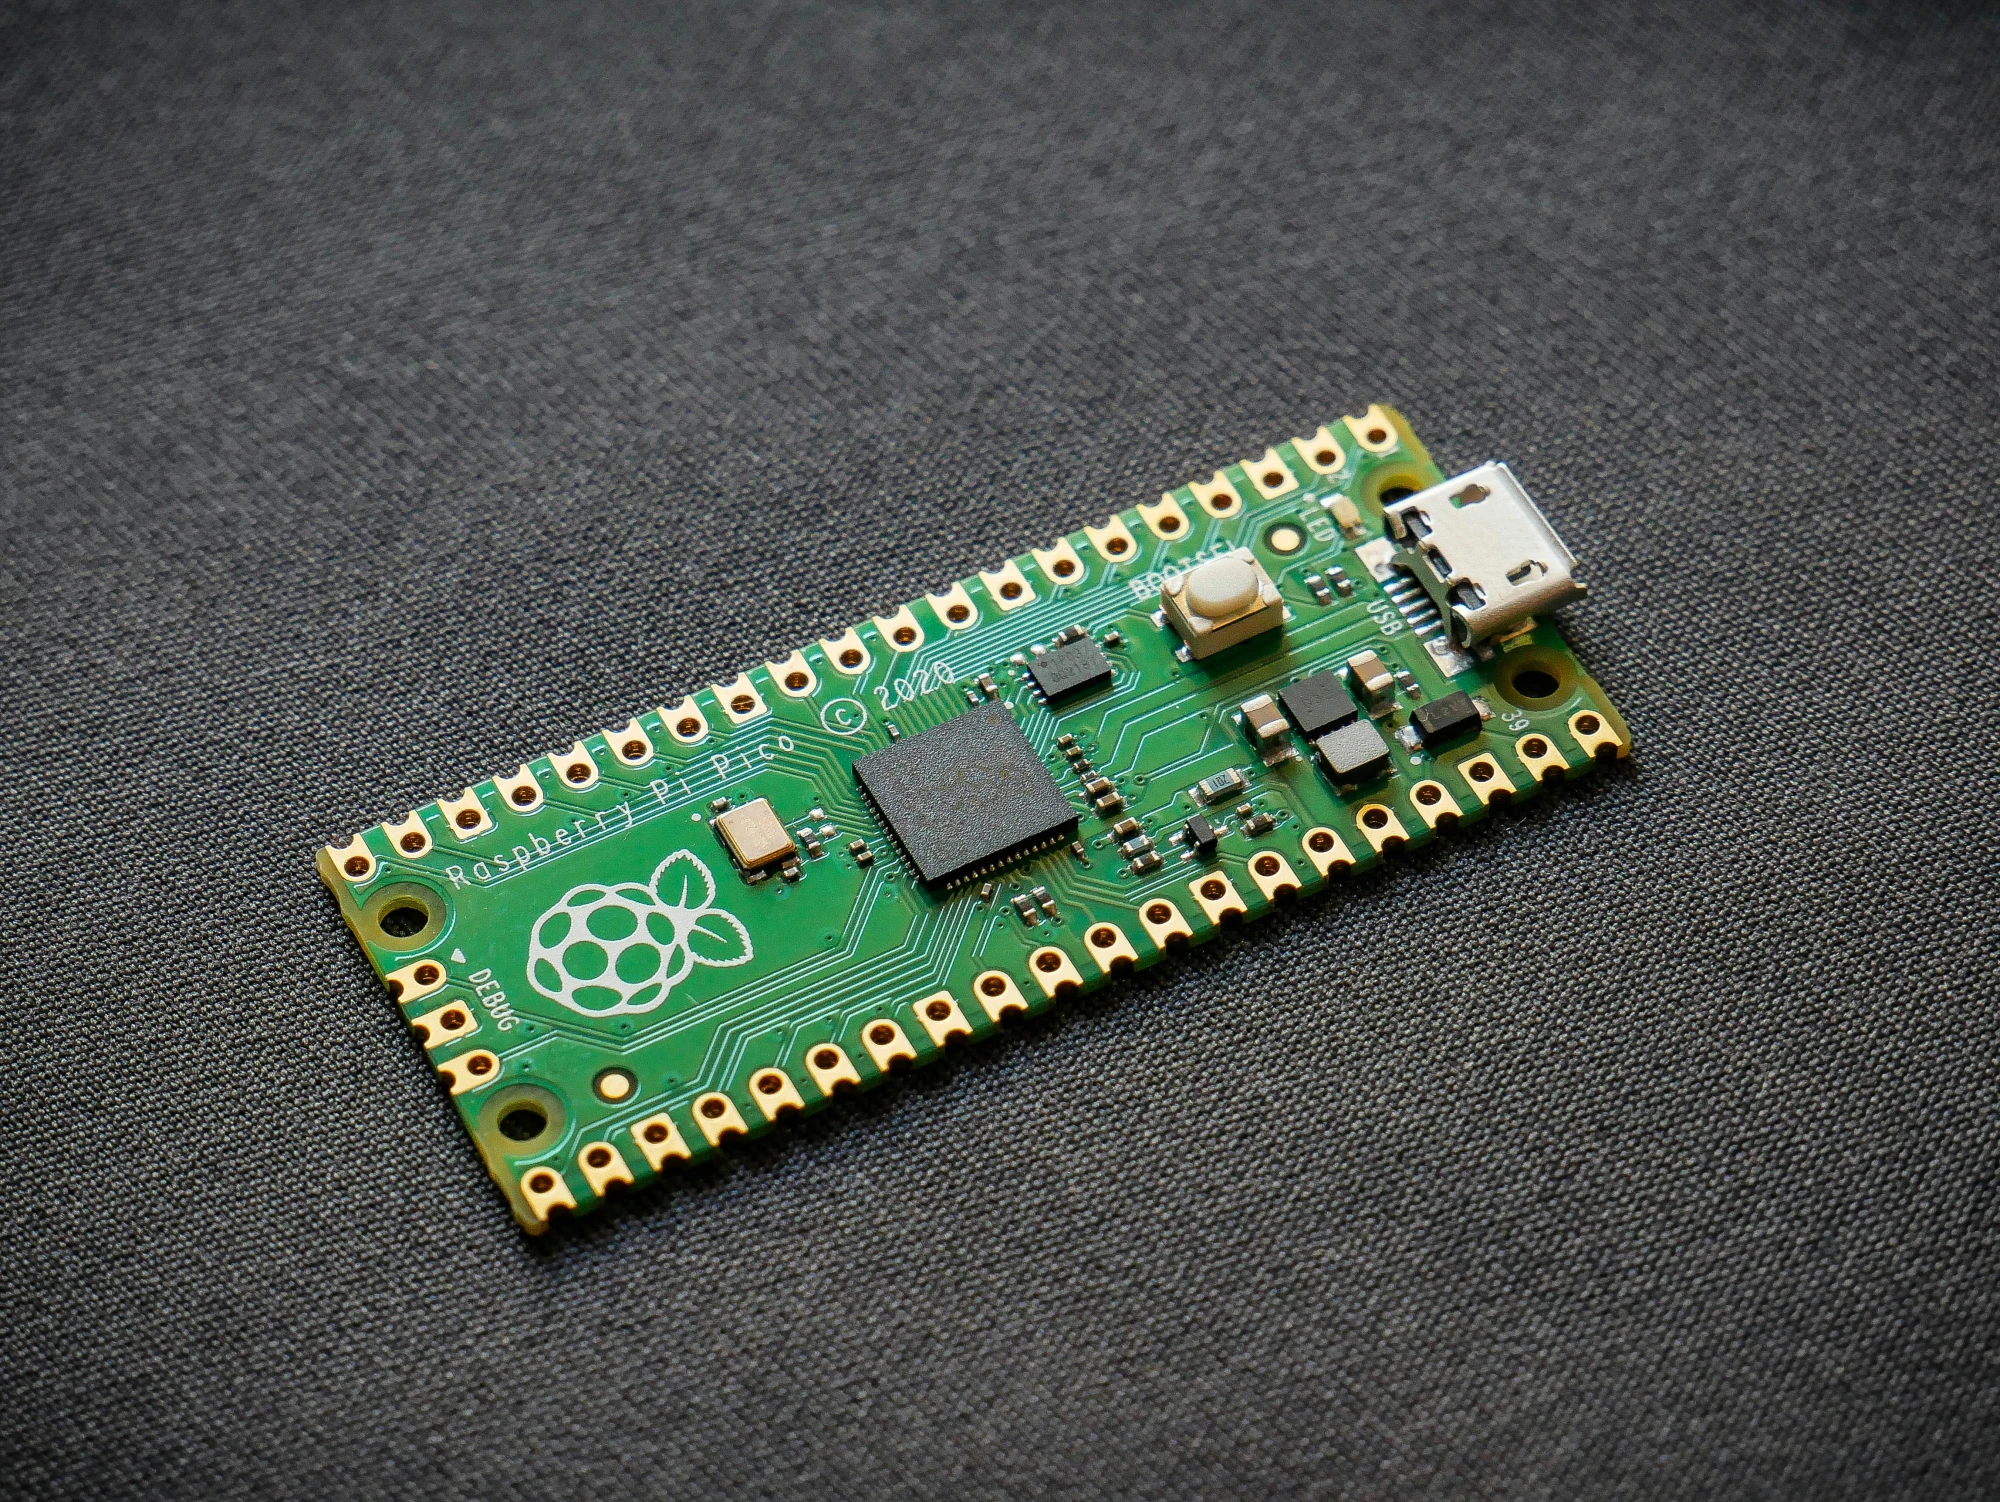
- Raspberry Pi Pico as our target device
- Pi Debug Probe for debugging and UART communication
- Raspberry Pi 4 as our remote host
- Socat to bridge serial communication over the network
- Docker to containerize the entire setup for portability and ease of use
Setting Up Serial Output on the Pico
Before diving into remote access, let's first start with a simple C example and view the output on the host. The following example program prints a message to the serial console every two seconds.
#include <stdio.h>
#include "pico/stdlib.h"

int main() {
    stdio_init_all();

    while (true) {
        sleep_ms(2000);
        printf("make progress!!\n");
    }
}
Flash this program to your Pico. To view the output, we need to first SSH into our Raspberry Pi and locate the serial device (probably something like ttyACM0). The simplest method is to find the device by id using ls:
ls -l /dev/serial/by-id/You should see something like this:
lrwxrwxrwx 1 root root 13 Feb 12 09:58 usb-Raspberry_Pi_Debug_Probe__CMSIS-DAP__E6633861A3725538-if01 -> ../../ttyACM0Now to read the serial output we can simply use cat:
$ cat /dev/ttyACM0
make progress!!
make progress!!If the output looks gibberish, reset the serial port settings as it might be a problem with the previous configuration - ask me how I know (╥‸╥)
sudo stty -F /dev/ttyACM0 115200 raw -echo -echoe -echok -echoctl -echoke
Making Serial Communication Remote
To access the serial output remotely, we need a way to expose the serial port over the network. We will be using socat, a versatile tool that establishes bidirectional byte streams between two points. Just what we needed!
If you do not have socat installed you can grab it with apt :
sudo apt install socatRun it (if port 8282 is in use on your system pick another port):
socat tcp-listen:8282,fork,reuseaddr /dev/ttyACM0,raw,echo=0,b115200Lets break it down:
tcp-listen:8282opens a TCP port for incoming connectionsforkallows multiple sessions, so the process doesn’t die when a connection closesreuseaddrensures the port can be reused if the program restarts/dev/ttyACM0is your serial devicerawtells the Linux TTY driver not to process the dataecho=0disables local echob115200sets the baud rate to 115200
Now, from your development PC on the same network, connect using nc (netcat) or a serial monitor in VS Code:

Voilà! You’re now remotely monitoring your Pico’s serial output.
Containerizing the Serial Bridge
Continuing the the TaaS mindset we'll be containerizing socat and create a reusable, isolated environment that simplifies deployment and ensures consistency.
Dockerfile:
FROM alpine:latest

RUN apk add --no-cache socat

EXPOSE 8282

ENTRYPOINT ["sh", "-c", "socat tcp-listen:${LISTEN_PORT},fork,reuseaddr ${SERIAL_DEV},raw,echo=0,b${BAUD}"]
Build the image:
docker build -t pi-serial-bridge DockerfileTo make device access seamless, create a udev rule to map the Pi Probe’s serial device to a consistent symlink.
Edit /etc/udev/rules.d/99-usb-debugger.rules and add:
KERNEL=="ttyACM*", ATTRS{idVendor}=="2e8a", ATTRS{idProduct}=="000c", SYMLINK+="debug/pi-probe-serial", MODE="0666", GROUP="plugdev"For the new rules to take effect, reload them with:
sudo udevadm control --reload-rules
sudo udevadm trigger
Finally we can run the container:
docker run -d --name pico_bridge                            \
    --device=$(readlink -f /dev/debug/pi-probe-serial)      \
    -p 8282:8282                                            \
    -e LISTEN_PORT=8282                                     \
    -e SERIAL_DEV=$(readlink -f /dev/debug/pi-probe-serial) \
    -e BAUD=115200                                          \
    --restart unless-stopped                                \
    pi-serial-bridge
Finally we can get back to our development pc and try connecting to the remote serial output again:
$ nc 192.168.20.206 8282
make progress!!
make progress!!
Add Pico's USB CDC Interface to Serial Bridge
What if you want to use the USB Communications Device Class (CDC) on the Pico instead of connecting directly to the UART pins? With the Pico SDK, switching between UART and USB CDC is straightforward:
pico_enable_stdio_uart(blink 1)
pico_enable_stdio_usb(blink 0)
However, you might notice that your serial bridge stops forwarding data. This happens because the UART and CDC interfaces have different product IDs. To fix this, we need to update our udev rules and adjust the Docker container setup.
Edit /etc/udev/rules.d/99-usb-debugger.rules and add:
KERNEL=="ttyACM*", ATTRS{idVendor}=="2e8a", ATTRS{idProduct}=="000a", SYMLINK+="debug/pi-probe-cdc", MODE="0666", GROUP="plugdev"Reload the udev rules to apply the changes:
sudo udevadm control --reload-rules
sudo udevadm trigger
Now, launch the Docker container using the CDC device:
docker run -d --name pico_bridge                         \
    --device=$(readlink -f /dev/debug/pi-probe-cdc)      \
    -p 8282:8282                                         \
    -e LISTEN_PORT=8282                                  \
    -e SERIAL_DEV=$(readlink -f /dev/debug/pi-probe-cdc) \
    -e BAUD=115200                                       \
    --restart unless-stopped                             \
    pi-serial-bridge
What’s Next?
In the next post, we’ll explore adding even more tools to our TaaS toolkit. Stay tuned for more ways to streamline your embedded development workflow!
All Posts in This Series
- Part 1: Getting Started with OpenOCD: A Beginner's Guide
- Part 2: Remote Debugging with Raspberry Pi and OpenOCD
- Part 3: Cross-Compiling OpenOCD: A Step-by-Step Walkthrough
- Part 4: Simplifying OpenOCD Deployment with a Debian Package
- Part 5: Automating OpenOCD Distribution with a Private Gitea Package Registry
- Part 6: Running OpenOCD in Docker: A "Tools as Service" Approach to Embedded DevOps
- Part 7: Creating a Containerized Remote Serial Interface with Docker and Socat (Current Post)
- Part 8: Remote View Raspberry Pi Camera Stream with Docker
Automating OpenOCD Distribution with a Private Gitea Package Registry
Turn your OpenOCD updates from a manual chore into a one-click process. Learn how to set up a private Gitea Package Registry, upload .deb files, and install them effortlessly on any Debian-based machine. Automation made simple.
Running OpenOCD in Docker: A "Tools as Service" Approach to Embedded DevOps
Discover how Docker containers can simplify your embedded tooling setup, making OpenOCD portable, isolated, and hassle-free, all while keeping your Raspberry Pi 4 devbox clean and efficient.
Remote Real Time Transfer (RTT) Setup: Interfacing from Anywhere
Struggling with remote debugging? Discover how to set up Segger’s RTT for real-time logging using OpenOCD, Raspberry Pi, and a Pi Debug Probe, plus the pitfalls I faced and how to avoid them.
Whether you're building something new, fixing stability issues, or automating what slows your team down — we can help.