DNS Sinkhole: How to Block Malicious Sites and Trackers at the Network Level
Deploy Pi-hole on a Raspberry Pi to block malicious domains and trackers network-wide. Learn how to configure blocklists and prevent DNS bypasses in this hands-on guide.


Why a DNS Sinkhole is Essential for Privacy
In previous posts, we investigated how DNS works, how domain names are translated into IP addresses and saw the request packets in plain text. We saw that these requests could be proxied, blocked, and altered. So, what can we do to protect ourselves a bit more?
One effective strategy to bolster network security and privacy is the implementation of DNS sinkholes. This approach offers a proactive defense mechanism by redirecting DNS queries for known malicious domains to a safe server, thereby preventing communication with harmful sites.
In a DNS sinkhole setup, the DNS server is configured to identify and intercept queries for known malicious domains. Instead of providing the actual IP address of the malicious domain, the DNS server redirects the query to a sinkhole server. This sinkhole server can be set up to log the query, block the connection, or even display a warning page to the user, effectively thwarting the attempt to access the harmful site.
How a Sinkhole Intercepts Malicious Traffic
Lets have a look at an example DNS sinkhole behavior, we will assume that example.com was resolved, we got the IP and made connection. Our browser will start loading the content.

- Our browser will load the content from
example.com - Not all resources may come from the same domain. In that case, our web browser will resolve those domains in the same way we've already discussed.
- If a domain is on the block list, the DNS sinkhole will not resolve the domain name. No content will be loaded by our browser, protecting us from malicious content. The DNS sinkhole intercepts this query and returns a local IP address or a null response instead of the actual IP address of the blocked domain.
- If the domain isn't on the block list, the DNS sinkhole will forward the request to the upstream DNS resolver.
Bonus: Blocking trackers and ads doesn’t just improve security. It speeds up browsing by reducing unnecessary requests and saving bandwidth.
Deploy Pi-hole on a Raspberry Pi 4
To create your own DNS sinkhole, we will use Pi-hole, an open-source tool that blocks ads and trackers network-wide. First, we need a machine to install Pi-hole on. This device should be something that can run twenty-four hours a day, seven days a week. A cost-effective option is a Raspberry Pi. Now that we have a machine picked out, here is how to set it up.
Open a terminal and run the handy script provided Pi Hole described in their documentation.
curl -sSL https://install.pi-hole.net | bashThe script requires root privileges to run, but don´t worry it ask for the sudo password if not ran as root.
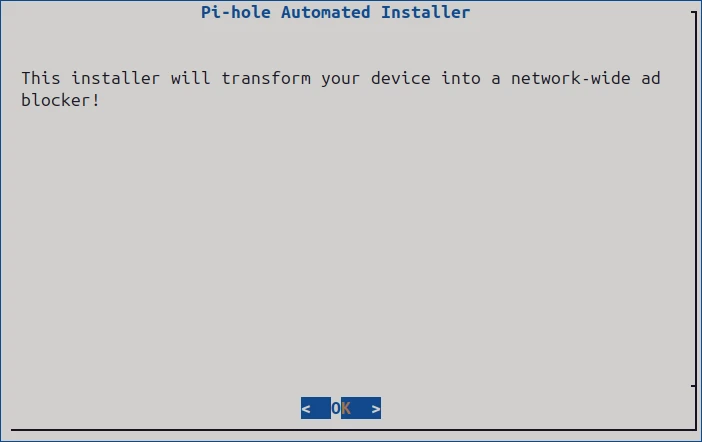
Once the script starts you should be presented with a nifty Pi-hole logo ASCII art.

The script will open a terminal user interface (TUI) where we can configure Pi-hole's functionality. The TUI will guide you through the installation process. Here are the three main choices you'll need to make:
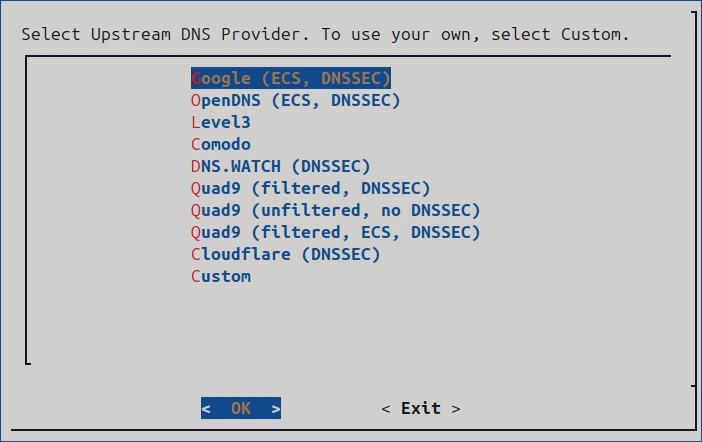
- Upstream DNS Provider: This works similarly to when we configured the DNS provider in our router. Let's choose Quad9, just like last time.
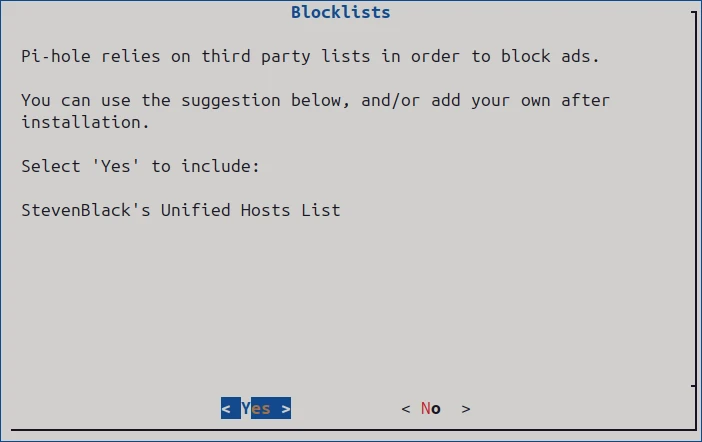
- Default Block List: Decide whether to include the default curated block list. This will add some blocked domains to your Pi-hole configuration. Later, we'll also cover how to add new block lists.
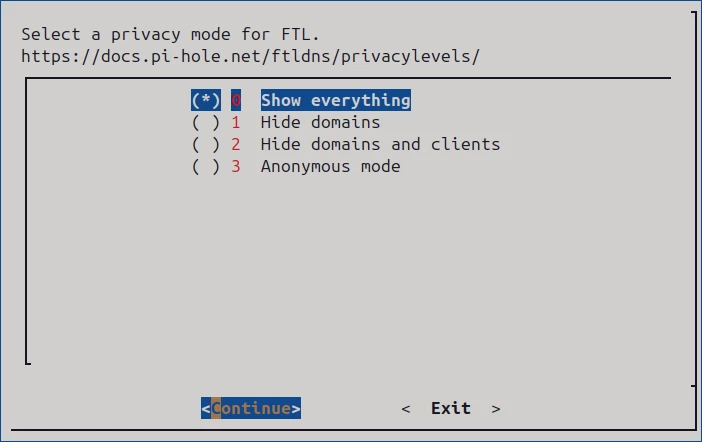
- Privacy Mode: Choose what kind of information Pi-hole will store. The default setting, "Show Everything," will display IP addresses, their queries, top client list, top domain list, etc.
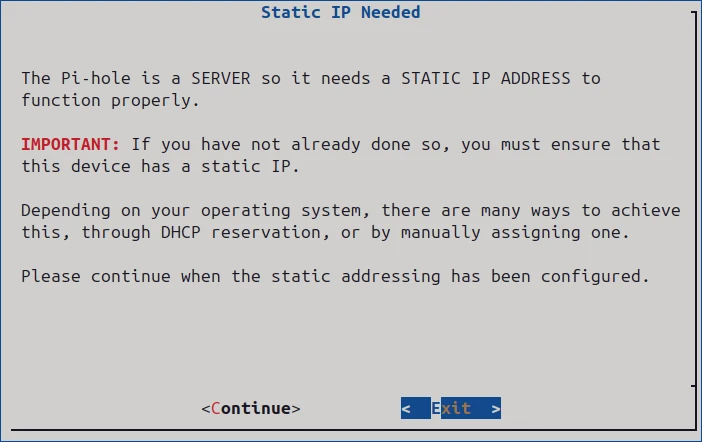
The installation guide mentions that a static IP should be assigned to Pi-hole, but we can handle that later, after the installation is complete. Don't worry, the Pi's IP won't change while it's running!

Once the installer has finished, you'll need to configure your router to use Pi-hole as the networks DNS server (refer to The Risks of Using Your ISP's Default DNS for router setup steps). This ensures that all devices connected to your network will have content blocked without any further intervention.
Finally, log in to your Pi-hole at http://pi.hole:80/admin

Let Pi-hole run for a while as you visit different websites. Then, return to the Pi-hole interface and check out the Dashboard and Query Log.

The Dashboard shows how much of your browsing consists of blocked domains. In my case, with 3M blocked domains, about 24% of the domains were blocked-quite impressive.
Manage Domain Blocklists
Pi-hole comes with a default blocklist of approximately 100,000 domains, but you can expand it using curated lists from sites like Firebog. These lists are categorized and color-coded for easy selection:

Although the lists are color-coded, it is still smart to be selective about what you enable. Some blocklists can break websites, cause strange loading issues, or block legitimate content. False positives happen, so proceed with a bit of caution.
The green-labeled lists on Firebog are generally safe and they tend to function well with most websites. You can usually enable them without much trouble, but keep an eye on your browsing just in case something important gets blocked.
Each blocklist is essentially a large list of domain entries like this snippet:
#[admantx.com]
0.0.0.0 adformsync01.admantx.com
0.0.0.0 adformui.admantx.com
0.0.0.0 admantx.com
When a blocked domain is queried, Pi-hole returns 0.0.0.0, preventing the connection.
Add Custom Block Lists
Let’s add a new blocklist to Pi-hole:
- Go to the Lists section in the Pi-hole admin interface.
- Paste a blocklist URL (e.g.,
https://v.firebog.net/hosts/AdguardDNS.txt) into theAddress:field. - Add a comment (e.g., "AdGuard DNS Blocklist") and assign it to the
Defaultgroup. - Click Add Blocklist.
- Update Gravity (
Tools -> Update Gravity) to apply the new list.

We can test the newly added blocklist using dig:
$ dig +short analytics.yahoo.com
0.0.0.0
A response of 0.0.0.0 means the domain is successfully blocked!
Bypassing Pi-hole
After all this effort, our network is now better protected against malicious sites and trackers, right? Not exactly! Devices can still bypass Pi-hole by manually switching to another DNS server on a device basis (e.g., an IoT device might use Google’s DNS Server 8.8.8.8 instead our Pi Hole).
Lets test this...Open a new terminal and input the following dig command.
$ dig +short @8.8.8.8 analytics.yahoo.com
76.223.84.192
13.248.158.7
The dig command will use Google's DNS to try to resolve a blocked domain (analytics.yahoo.com). Even though Pi-hole blocks this domain, using a custom public DNS provider as the computers DNS server, circumvents the sinkhole entirely.
To enforce Pi-hole network-wide, we would need to block outbound DNS traffic to external resolver (e.g., using firewall rules). We will cover this in an upcoming post!
What’s Next?
Now that you’ve set up a DNS sinkhole with Pi-hole, you’re blocking ads, trackers, and malicious domains, but we’re not done yet!
In the next post, we’ll eliminate reliance on public DNS providers by setting up a self-hosted recursive DNS resolver (Unbound).

Self-Hosted Recursive DNS Resolver: How to Take Full Control of Your DNS with Unbound
Are you tired of relying on public DNS providers? Learn how to set up Unbound, a self-hosted recursive DNS resolver, to boost privacy, security, and performance with hands-on examples and testing.

A Simple Guide to DNS and Privacy
DNS translates domain names into IP addresses, but its unencrypted queries can expose your browsing habits. Learn how DNS works, what data is exposed in plaintext, and why it matters for your privacy — with hands-on examples.

How I Finally Cross-Compiled Rust App for Pi Zero (After Many Fails)
A debugging story of segmentation faults, ARM quirks, and Docker containers or how to compile a Rust application for the Pi Zero.
Whether you're building something new, fixing stability issues, or automating what slows your team down — we can help.