Managing Multi-Compiler CMake Projects in VS Code
Learn how to build host utilities alongside embedded firmware in CMake by using ExternalProject. This guide covers setting up multiple compilers, integrating utility projects, and configuring VS Code workspaces for smooth IntelliSense.

A while back, I started working on a project that wasn’t just firmware, but also included a few utility programs. Everything lived in one repo, but needed different compilers, arm-none-eabi-gcc for the firmware and the regular gcc for the utilities.
At first, I just opened the project in VS Code, but IntelliSense got completely confused. Switching between parts of the project would constantly break code completion, error squiggles popped up everywhere, and the editor didn’t know which compiler it should assume.
That’s when I decided to update the setup to play nicely with multiple toolchains in one project.
Creating a Subproject
By default, a CMake project configuration is tied to a single compiler toolchain, but our project needs two different compilers. In our case, that's where CMake ExternalProject module comes in handy.
Suppose we have a project with the following structure:
/srcdirectory contains the embedded firmware source files. Which will be built using thearm-none-eabitoolchain./utilsdirectory contains a small host-side tool that will be built withgcc.
To use both of the compilers, we need to treat the utils program as a separate project and integrate it into the main build using CMake’s ExternalProject module. In that way, our targets can have separate configurations but act as a single project.
First, ensure the utility program has its own CMakeLists.txt file in the /utils directory. Here’s an example configuration:
cmake_minimum_required(VERSION 3.16)
project(UtilProgram LANGUAGES C CXX)

# Specify compiler (optional if using the default system compiler)
set(CMAKE_C_COMPILER gcc)
set(CMAKE_CXX_COMPILER g++)

# Define the utility target
add_executable(util_program main.cpp)

# Add include directories and libraries if needed
target_include_directories(util_program PRIVATE ${CMAKE_SOURCE_DIR}/include)
It's a simple CMake file that uses gcc to build the utility program executable consisting of just one file. Next, we will need to integrate into the root build configuration for it to appear as a target.
Integrating into the Root Build
To include the /utils subproject in the main build configuration, we will use CMake's ExternalProject module. Start by including the module in the root build configuration.
include(ExternalProject)Finally, we can add the project definition:
ExternalProject_Add(
    util_project
    SOURCE_DIR ${CMAKE_SOURCE_DIR}/utils
    BINARY_DIR ${CMAKE_BINARY_DIR}/utils
    CMAKE_ARGS
        -DCMAKE_BUILD_TYPE=Release
    BUILD_ALWAYS ON
    INSTALL_COMMAND
        ${CMAKE_COMMAND} -E make_directory ${CMAKE_BINARY_DIR}/utils
)
Now the utility subproject appears as a separate target in our build system.

Configuring VS Code
Although, we managed to create a multi-compiler project, VS Code InteliSense may struggle as the external project sources aren't part of the main project's configuration. To fix this issue we'll use VS Code Workspaces.
Step 1: Exclude the Utility Directory
Start by opening the whole project in VS Code and add the following lines to .vscode/settings.json to exclude the /utils directory from the main view.
"files.exclude": {
    "**/utils": true
}
Excluding the directory from the project will signal InteliSense to not parse or handle any of the files in that directory.
Step 2: Create a VS Code Workspace
A Visual Studio Code workspace is the collection of one or more folders that are opened in a VS Code window (instance). In most cases, a single folder is the workspace, but we need to have a workspace with multiple separate folders. To create a multi folder workspace do the following steps:
- Open VS Code and go to
File → Add Folder to Workspace.... - Select the
/utilsdirectory. - Save the workspace in the project root directory:
File → Save Workspace As....
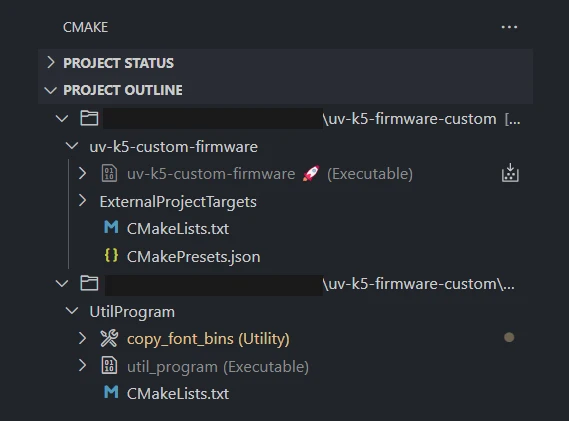
Once everything is done, the CMake Extension view looks something like that. From here it possible to activate CMake workspace to build or browse the content.

What’s Next?
Now that we’ve set up a multi-compiler CMake project in VS Code, we could explore setting up debugging for both of the projects. We could use the launch.json file to define separate debug configurations for each target.
Interested more about CMake? Check out our other post: "Including External Libraries in CMake Projects".

Including External Libraries in CMake Projects
Learn how to use CMake’s FetchContent module to automatically download and integrate libraries like CMSIS into your embedded projects, eliminating the hassle of manual copying and updates.

How to Find the Memory Address of a Symbol in an ELF File
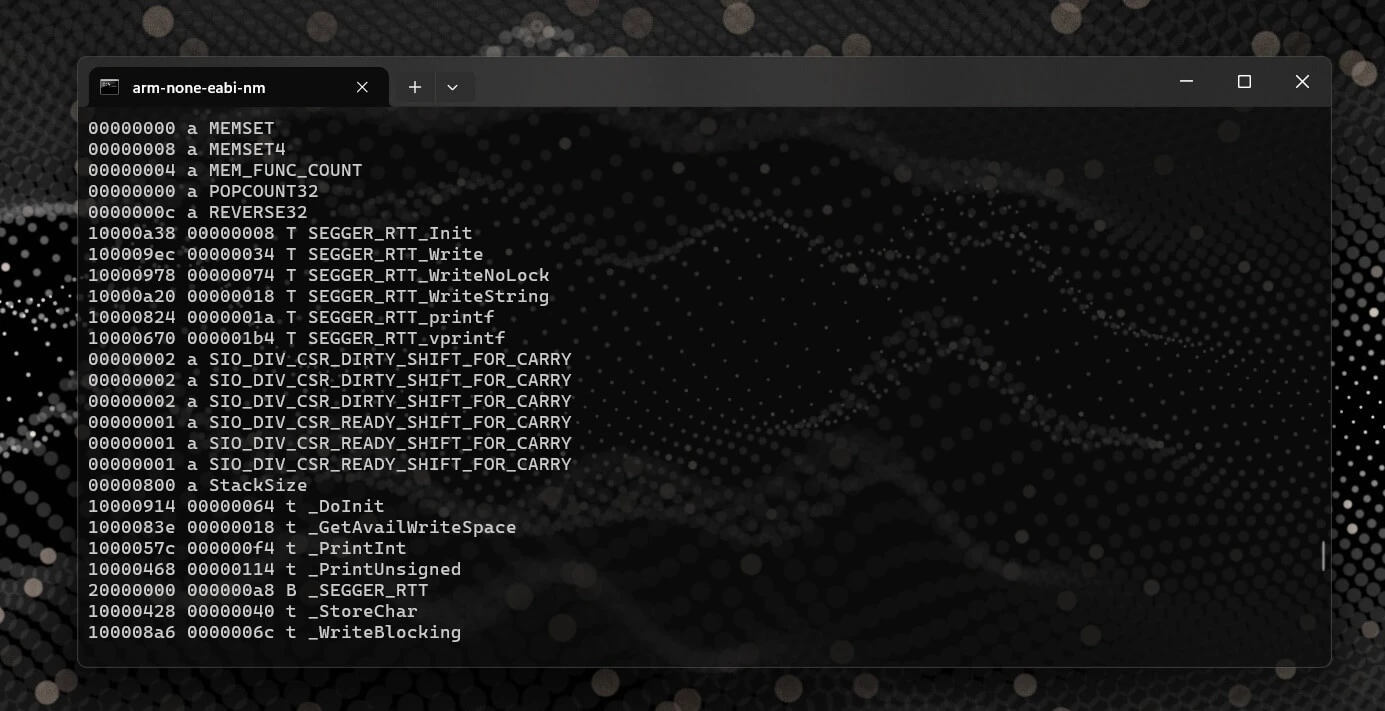
A quick and useful tip for locating symbol memory addresses in ELF files using arm-none-eabi-nm combined with grep—perfect for embedded debugging scenarios like setting up SEGGER RTT or inspecting linker placements and runtime symbols.

How to Use a Raspberry Pi as a Remote OpenOCD Debugger
Learn how to turn a Raspberry Pi into a remote debugging server for the RP2040 using OpenOCD, a complete with step-by-step setup and instructions for building OpenOCD from source to resolve hardware compatibility issues.
Whether you're building something new, fixing stability issues, or automating what slows your team down — we can help.

